

Performance Reviews
Creating Evaluation Periods
Add a new evaluation period so evaluators can tag performance reviews with it.
Create an evaluation period before evaluators start the reviews that belong to it. A typical time is the start of the school year, when you set up the new year’s period and retire the old one.
Role: system administrator.
Add a period
Section titled “Add a period”- Go to System Administration > Subdivisions > Evaluation Periods.
- Click New.
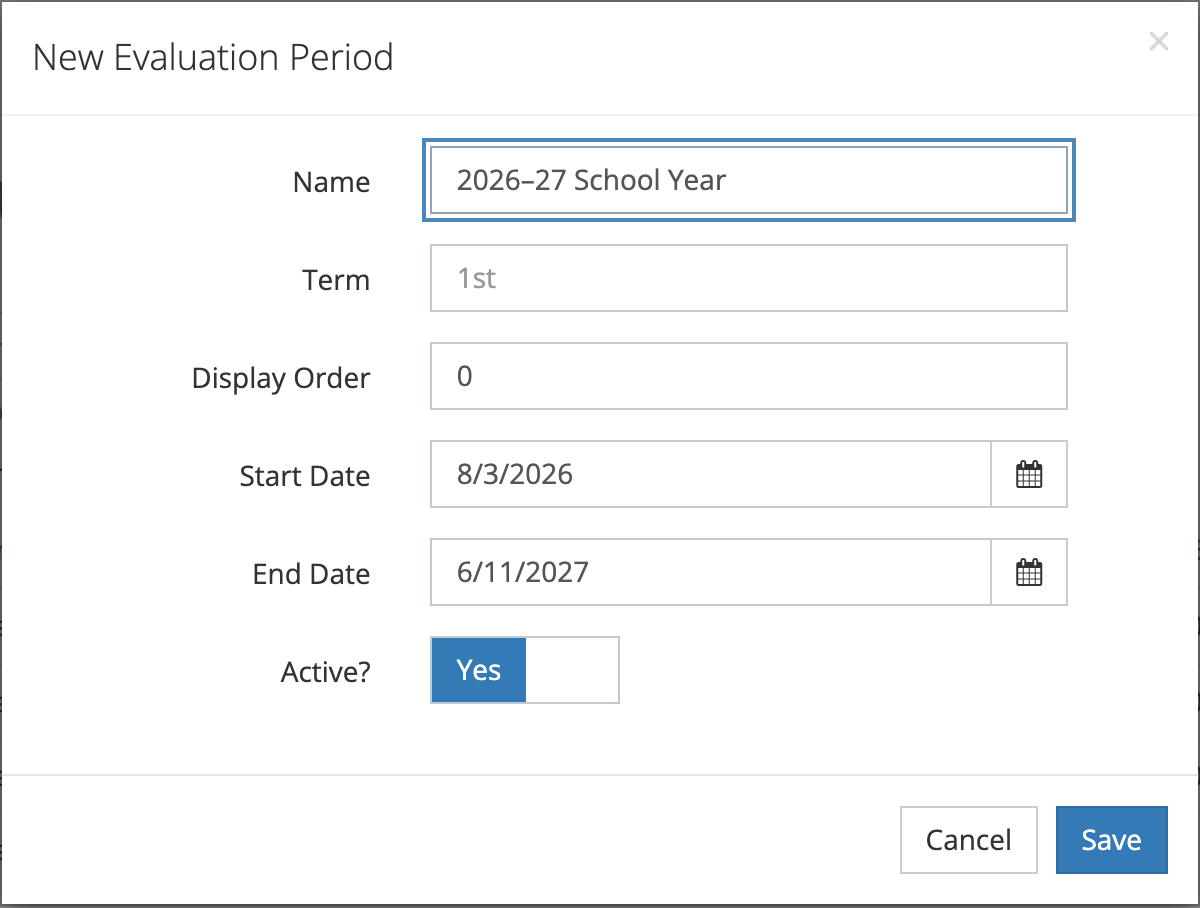
- In the New Evaluation Period window, fill in the fields:
- Name (required): for example “2026–27 School Year”.
- Term: optional. Leave it blank for a full-year period. Fill it in to split a year into parts, for example “1” and “2” for fall and spring.
- Display Order: a number that sets where the period sits in the list when no column is sorted.
- Start Date and End Date: type a date or click the calendar button.
- Active?: Yes makes the period available to evaluators right away. Switch it to No to set the period up ahead of time.
- Click Save.
The new period appears in the list. If it is active, evaluators see it in the Evaluation Period list the next time they start or edit a performance review.
How the name appears
Section titled “How the name appears”Evaluators pick from the period’s name. When a period has a Term, the list shows the name followed by ” - Term” and the term, so a period named “2026–27 School Year” with term “2” shows as “2026–27 School Year - Term 2”. Write the Term as a short value (“1”, “2”, “Fall”) so the result reads well.
Names do not have to be unique, so check the list before you add a period that might already exist.