

Forms & Rubrics
Building Forms and Sections
Create or duplicate a form, organize it into sections, and weight sections for scoring.
A form is the document observers fill in. You organize it into sections, such as “Classroom Environment” or “Small-Group Instruction”, and each section holds questions.
The Forms, Sections, and Questions menu items appear only when content creation is turned on for your district. A system administrator or a publisher can create, duplicate, edit, and delete forms and weight sections. Creating and editing sections requires the Publisher role. See Form Sets Overview.
Create a form
Section titled “Create a form”- Go to System Administration > Forms.
- Click New.
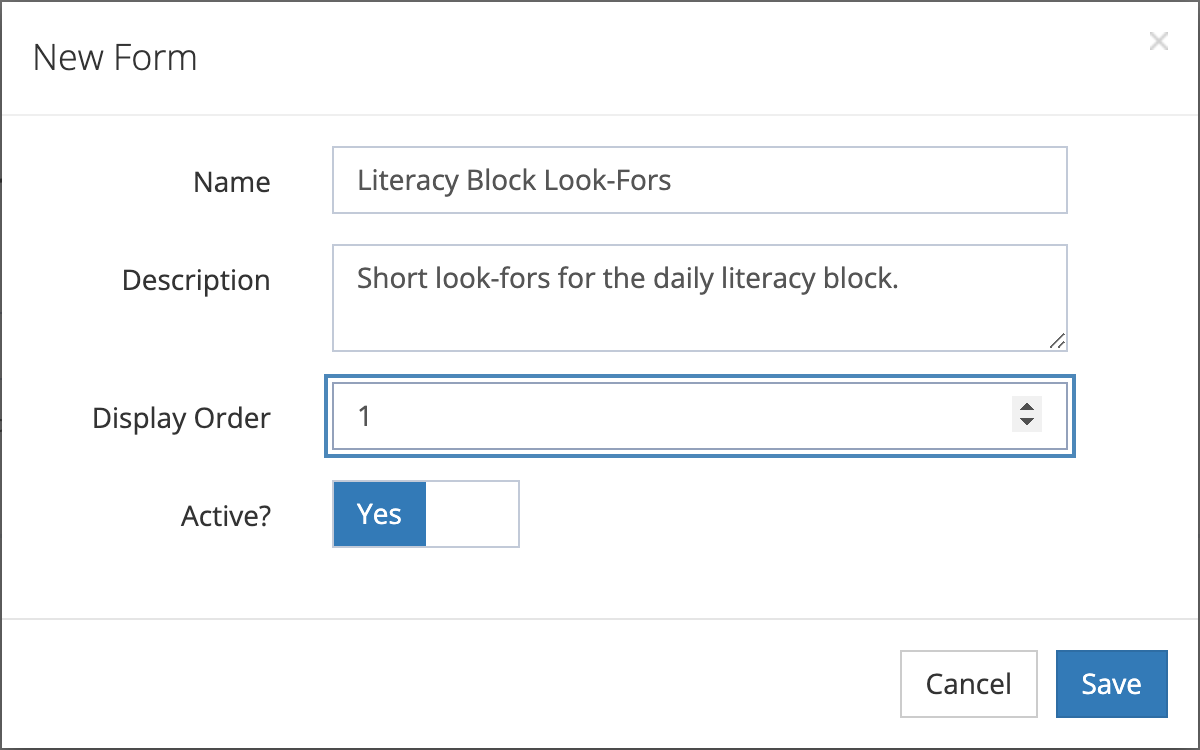
- In the New Form window, enter:
- Name: the title observers see, such as “Literacy Block Look-Fors”.
- Description: optional notes about the form’s purpose.
- Display Order: optional.
- Active?: leave on to use the form.
- Click Save.
The form’s page opens. It shows the form’s details and two tabs: Form Sections and All Questions (every question on the form, across sections).
Duplicate a form
Section titled “Duplicate a form”Start from an existing form when your new instrument is close to one you already have, such as next year’s version of a walkthrough.
- Go to System Administration > Forms.
- Click Duplicate Form.
- Choose the form under Select a form to duplicate.
- Check Also duplicate questions if you plan to change the questions. This creates independent copies of each question and its choices, so changes do not affect the original form. Leave it unchecked to reuse the same questions.
- Click Duplicate Form.
The copy includes the form’s sections, section questions, and rubric or matrix columns with their placements. Its name starts with “(Copy)”. Rating scales are not duplicated. When the window says the form was duplicated, refresh the page to see the copy in the list.
Add sections to a form
Section titled “Add sections to a form”- On the form’s page, open the Form Sections tab and click New.
- In the New Section window, enter:
- Name: the section heading, such as “Small-Group Instruction”.
- Show name?: whether observers see the heading on the form.
- Information Text: optional guidance for observers about this section.
- Display Order: the section’s position on the form, lowest first.
- Form: filled in with the current form.
- Click Save.
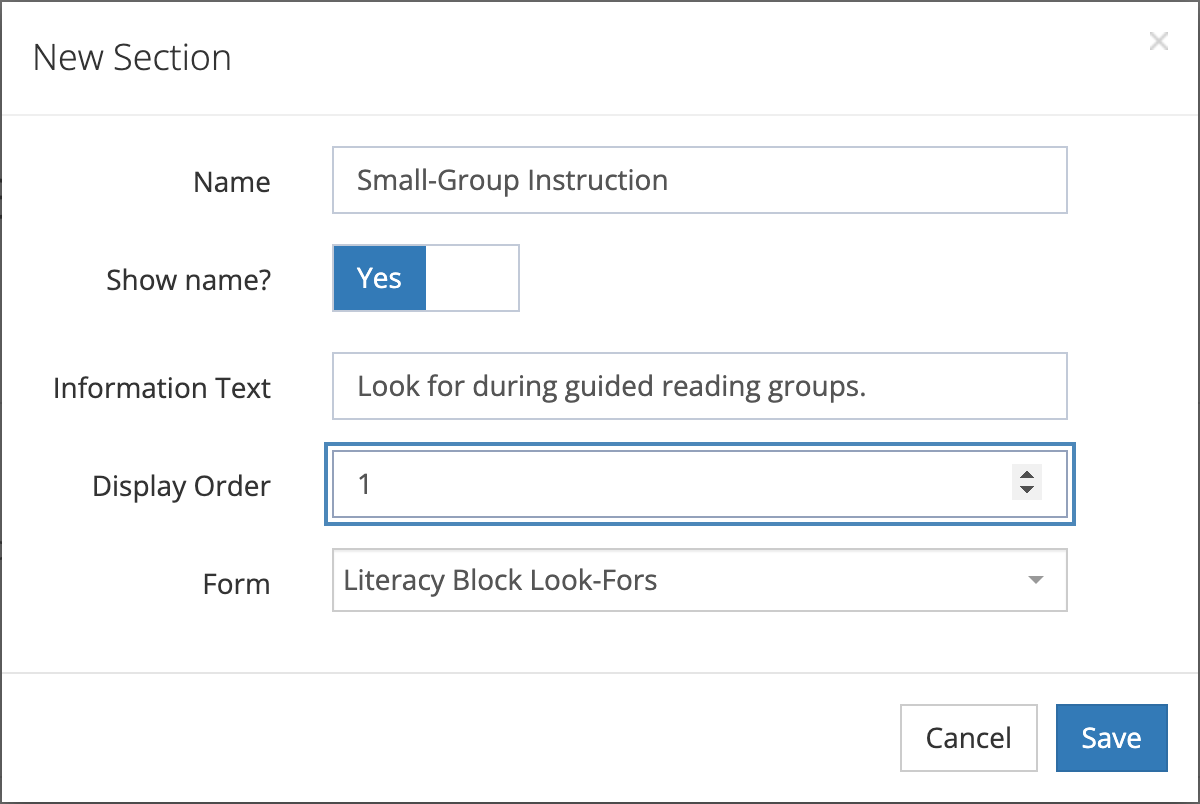
You can also create a section from System Administration > Sections and pick its Form there, or leave Form blank and attach it later. A section belongs to one form at a time. When unattached sections exist, the form’s Form Sections tab shows Attach Section so you can add one.
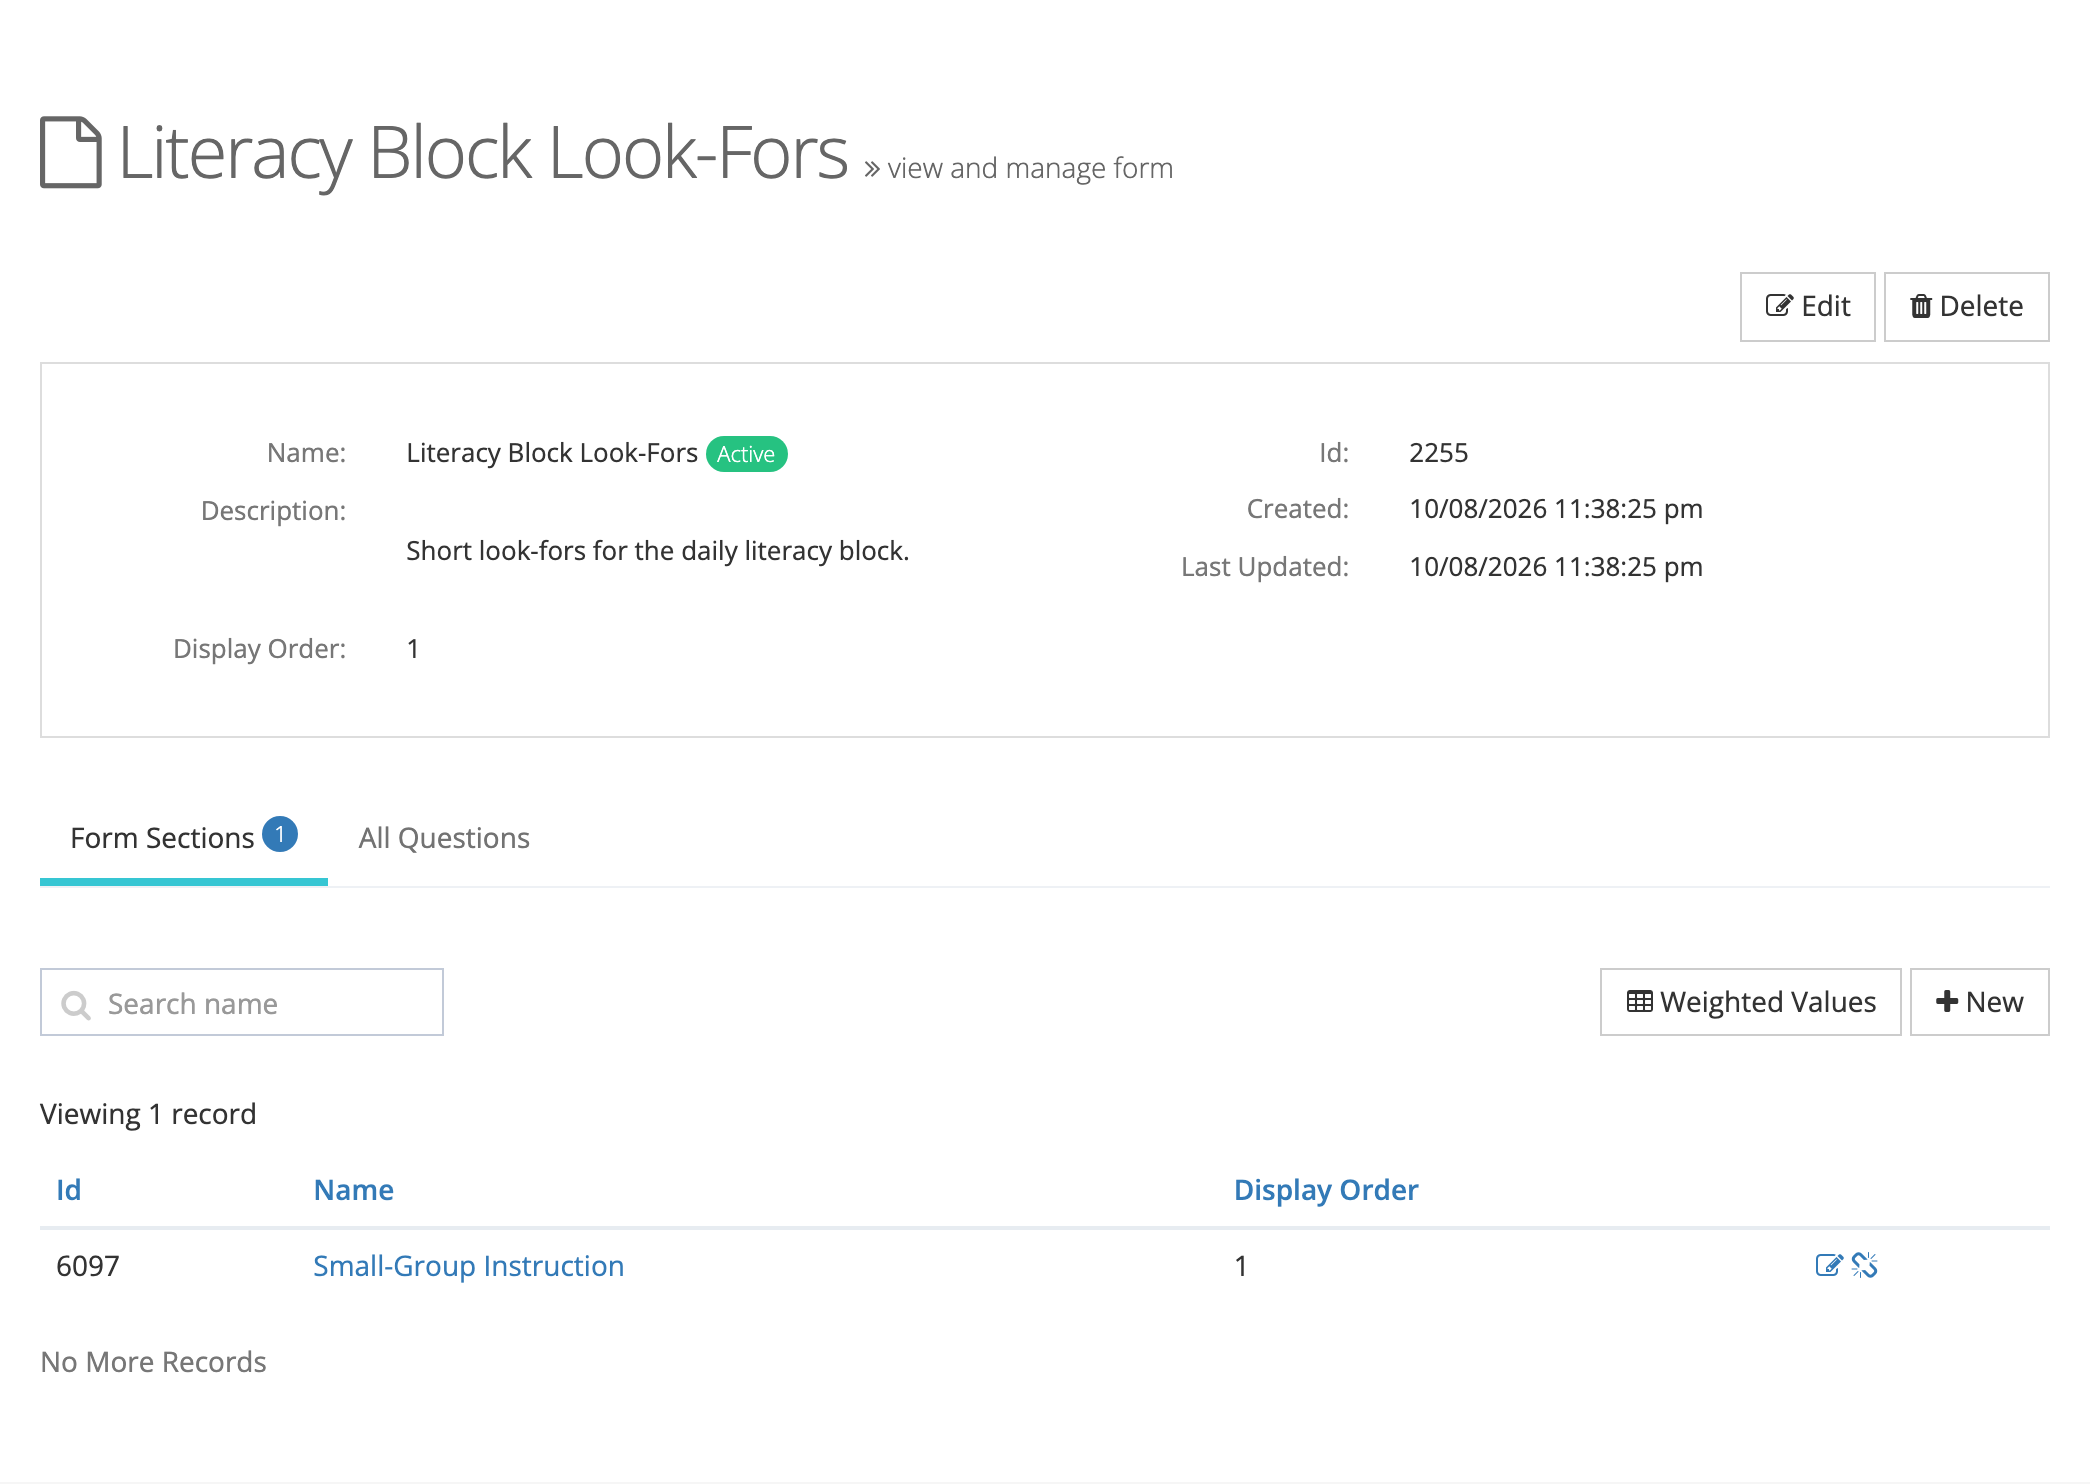
Click a section’s name to open it and add questions. See Adding Questions and Configuring Scoring. To show a section as a rubric or matrix, see Setting Up Rubrics and Rating Scales.
Reorder, edit, or remove sections
Section titled “Reorder, edit, or remove sections”- Reorder: edit each section and change its Display Order.
- Edit: click the edit icon on the section’s row and change it in the Edit Section window.
- Remove from the form: click the unlink icon on the section’s row, then click Yes, Remove. The section is kept and can be attached again. To delete a section, use the trash icon on System Administration > Sections.
Weight sections
Section titled “Weight sections”By default, each section’s points count at face value. To make some sections count more, give each scored section a weight.
- On the form’s Form Sections tab, click Weighted Values.
- In the Weighted Points window, enter a Weight for each section, as a decimal (for example
0.6and0.4). - Click Save.
The rules:
- Each weight must be greater than 0 and no more than 1.
- If you weight one scored section, weight them all. Otherwise leave every weight blank.
- The weights must add up to 1.
- Sections with no scored questions cannot be weighted. The window lists them separately.
Edit, retire, or delete a form
Section titled “Edit, retire, or delete a form”On the form’s page, click Edit to change its details.
To stop using a form, edit it and turn Active? off.
Click Delete to remove a form. The Delete Form window checks whether any observation or review has answers, feedback, or attachments recorded on the form:
- Nothing recorded: the window warns that schools with access to the form will lose it and that this cannot be undone. Click Delete Form to confirm.
- Something recorded: the form cannot be deleted, because deleting it would remove the questions and sections those observations display. The window offers only Close. Turn Active? off instead.