

Other Settings
Class Periods, Content Areas, and Grade Levels
Build your district's lists of class periods, content areas, and grade levels, which every observation records and every school must have before observers can begin.
Every observation records three facts about the lesson: the Class Period, the Grade Level, and the Content Area. All three are required on the observation form. Those answers are what let you see later which grades and subjects your observers visit, and which they miss.
Your district keeps one list of each. These three lists are called Subdivisions. You build each list once for the district, then attach the items that apply to each school. A K–5 elementary school might attach Kindergarten through Grade 5 and the core subjects, while a high school attaches Grades 9–12, its periods, and its electives.
Role: system administrator.
Why every school needs them
Section titled “Why every school needs them”An observer picks the class period, grade level, and content area from dropdowns on the observation form. Each dropdown lists only the active items attached to the school being observed. A school with nothing attached in any one of the three lists cannot be observed: it is left out of the observer’s school list, and its page shows a red Requirements to enable observations list. See Getting a School Ready for Observations.
The same answers drive reporting:
- Organization Totals can total observations by Grade Levels or by Content Areas, and the observation reports filter by Grade Levels, Class Periods, and Content Areas.
- The Observe Dashboard shows Where observations land: the busiest grades and content areas, each one linking to its observations.
Opening the lists
Section titled “Opening the lists”- Click the gear icon to open System Administration.
- Under GENERAL, expand Subdivisions.
- Click Class Periods, Content Areas, or Grade Levels.
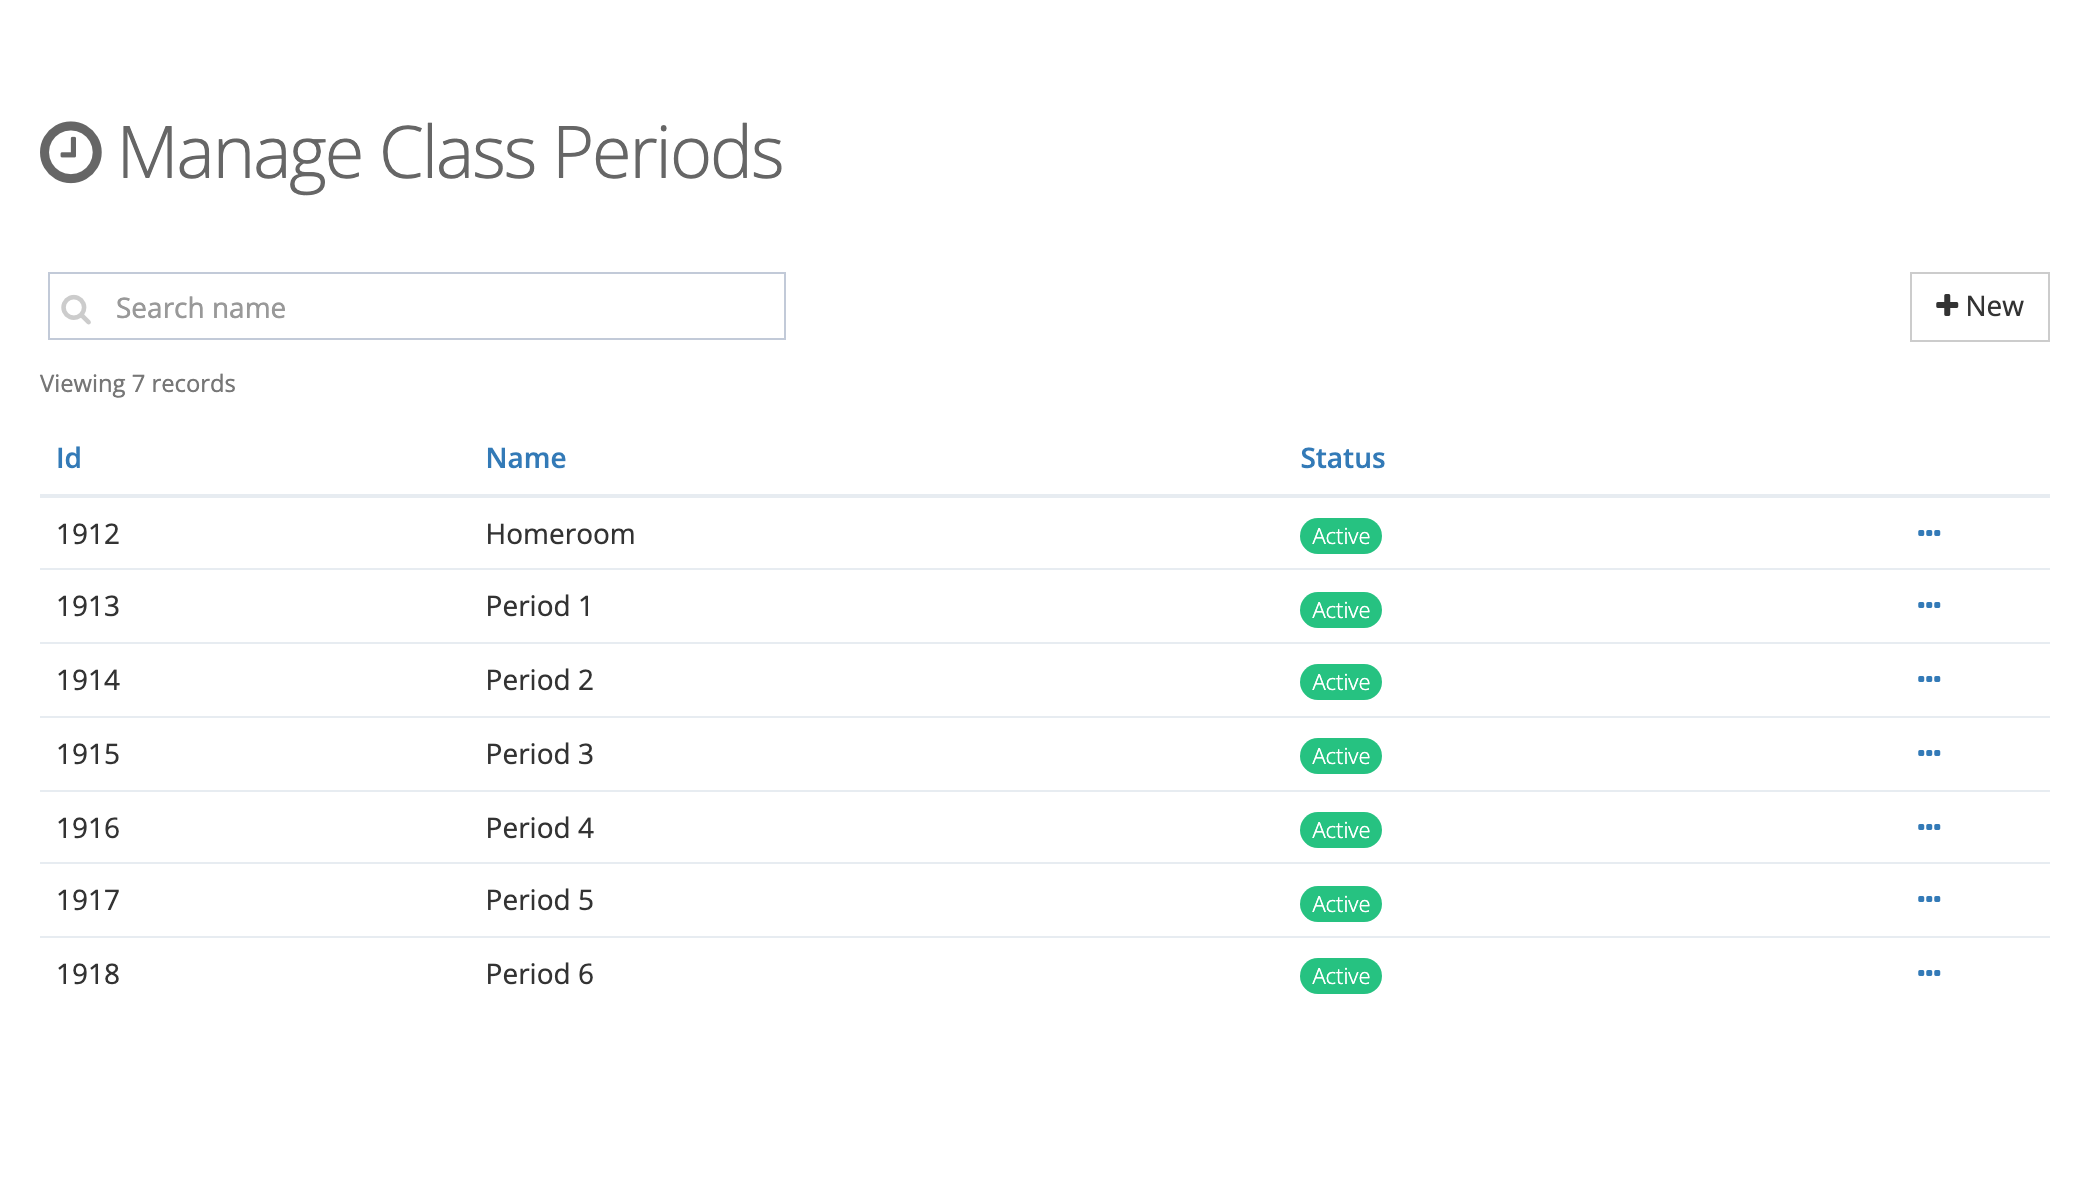
The pages are titled Manage Class Periods, Manage Content Areas, and Manage Grade Levels. Each shows a Search name box and a table with Id, Name, and Status (Active or Inactive). Click a column heading to sort by it.
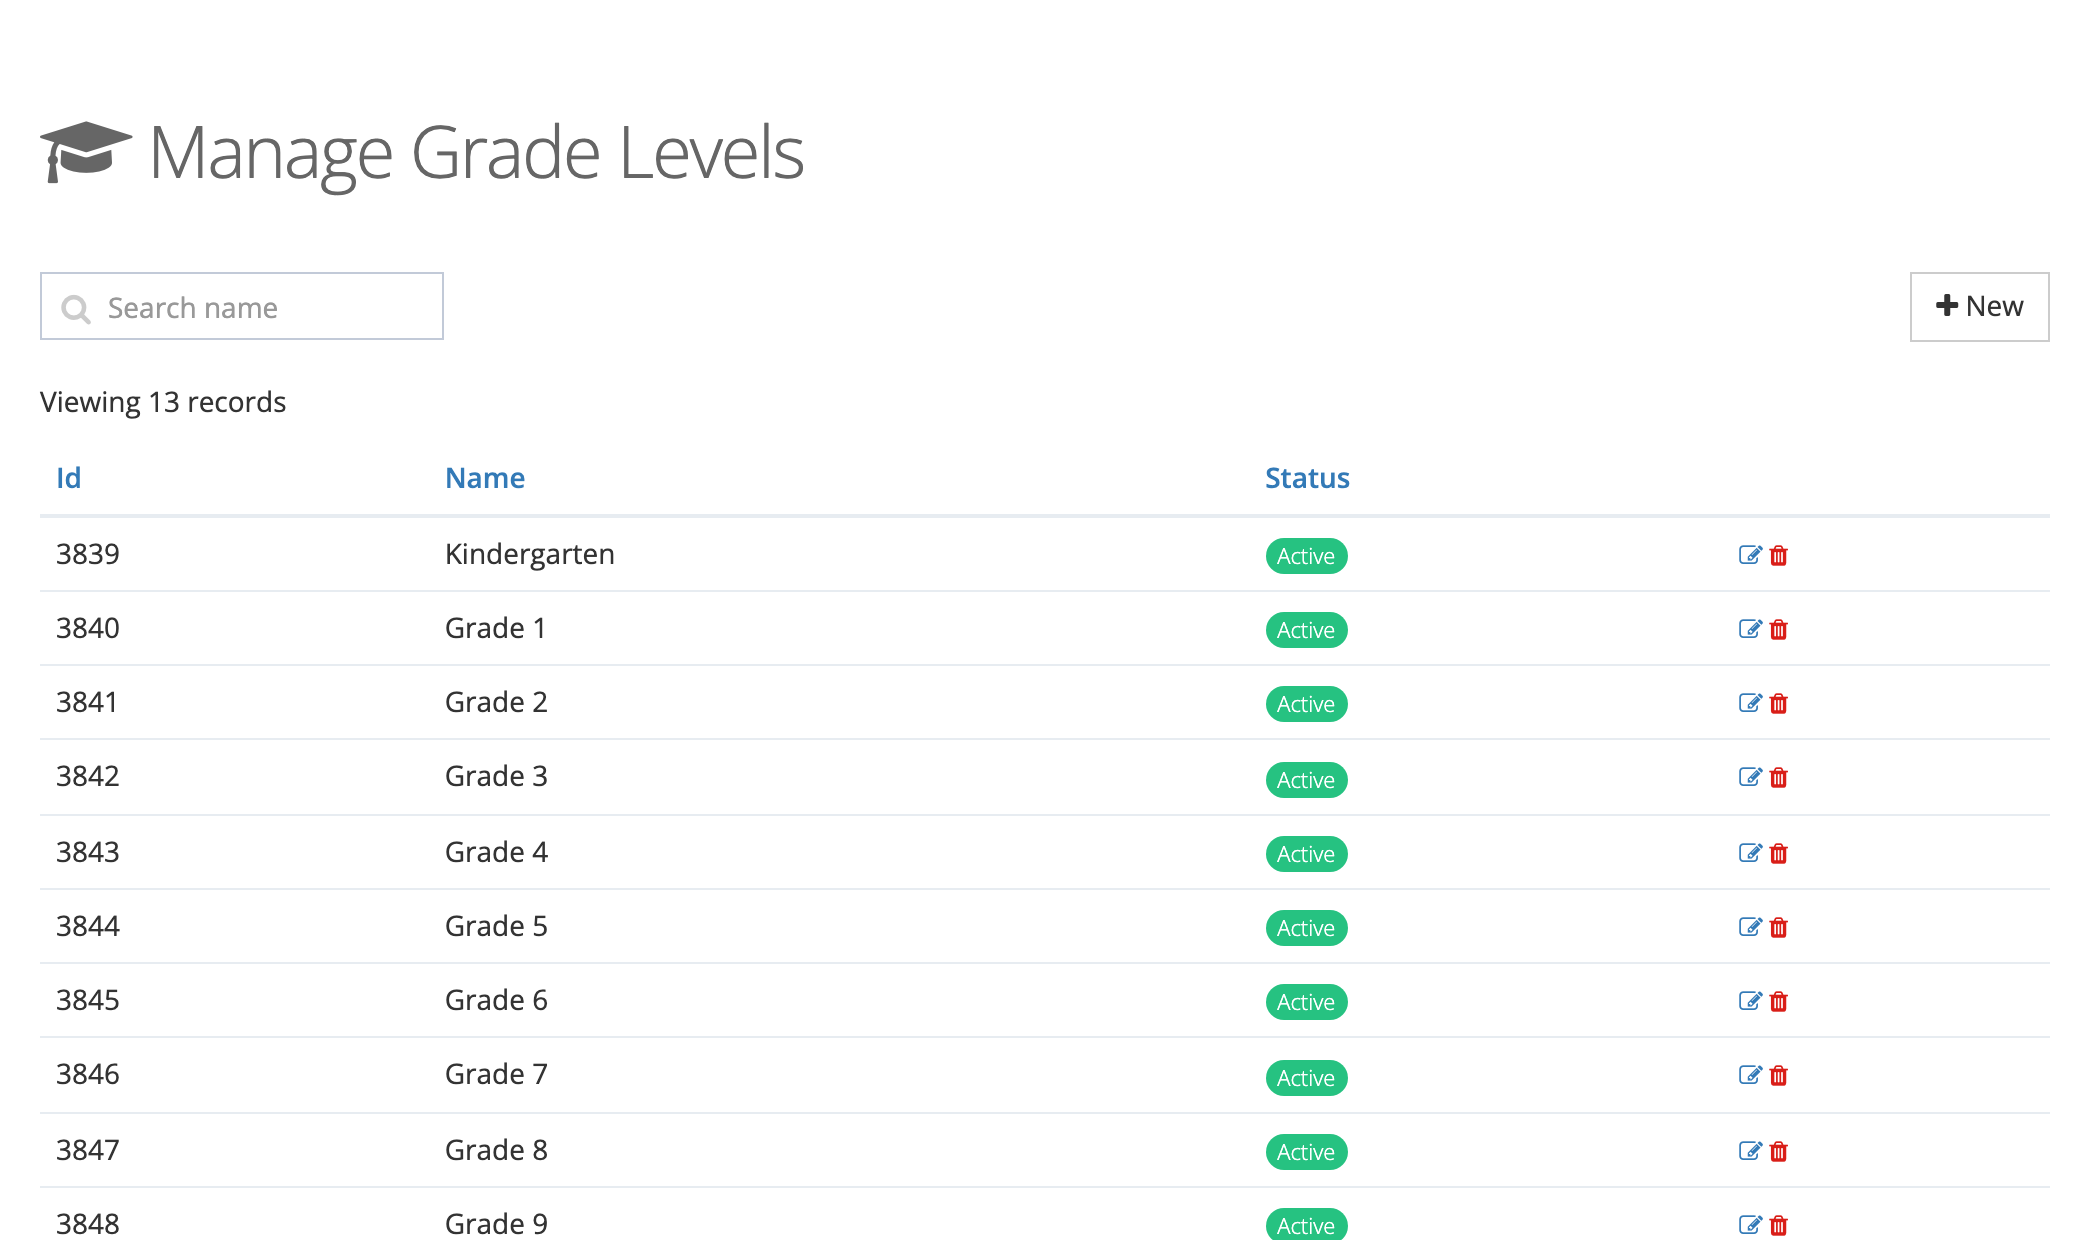
Subdivisions appears only when weCLIMB is turned on for your district. If your district uses performance reviews, the same menu also holds Evaluation Periods (see Creating Evaluation Periods).
Adding an item
Section titled “Adding an item”- Open the list and click New.
- Enter a Name, such as
Period 3,Grade 4, orScience. - Optionally enter a Display Order number.
- Leave Active? set to Yes so observers can choose it.
- Click Save.
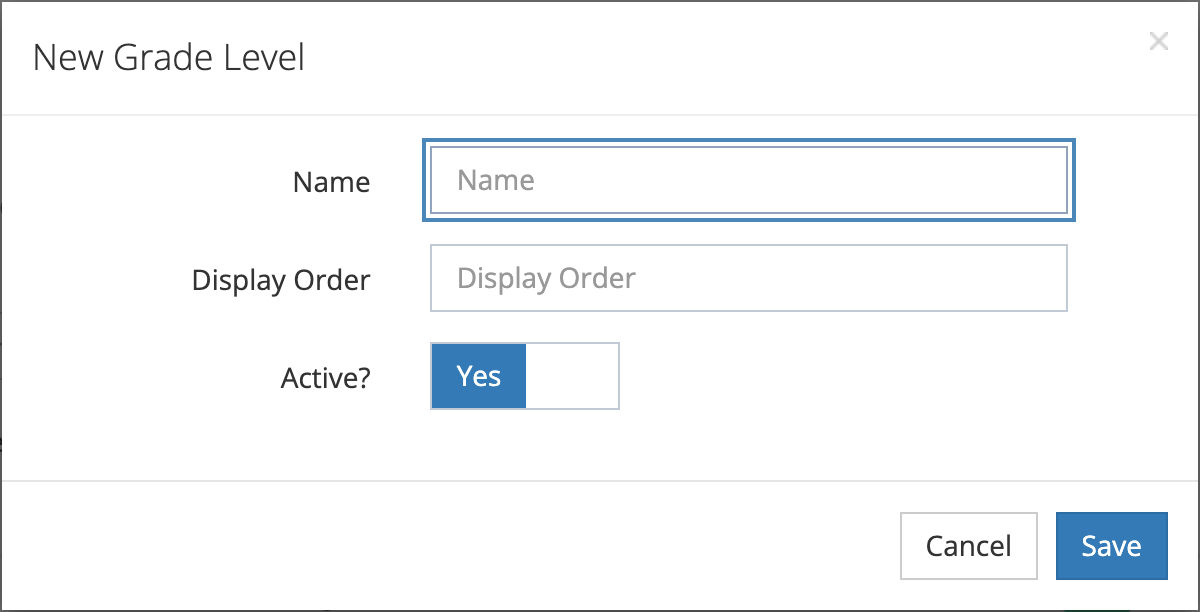
Names must be unique within each list. If the name is already taken, the error asks you to attach the existing item instead of creating a second one.
An item you add from these pages belongs to the district but is not attached to any school yet. Attach it on each school’s page, or create it from the school’s own tab, which adds and attaches it in one step. See Getting a School Ready for Observations.
Naming tips
Section titled “Naming tips”- The observation form and the school page list items alphabetically by name. “Grade 10” sorts before “Grade 2”, and on the web Display Order does not change that order. If the order matters to your observers, choose names that sort the way you want.
- Use names your observers already say out loud. If your secondary schools run a block schedule, add
Block AandBlock Brather than forcing teachers intoPeriod 1. - Keep content areas at the level your instructional leaders report on.
Mathematicsgives you a usable district total;Algebra I,Geometry, andAP Calculussplit that total three ways.
Editing an item
Section titled “Editing an item”- Class Periods: click the … menu on the row and choose Edit.
- Content Areas and Grade Levels: click the edit icon on the row.
The Edit window has the same fields as New. A new name shows on past observations as well, since they point to the same item.
Deactivating or deleting an item
Section titled “Deactivating or deleting an item”Open the delete window from the row: … > Delete on Class Periods, or the red trash icon on Content Areas and Grade Levels.
- Deactivate sets Active? to No. The item stays attached to its schools and stays on past observations, but observers can no longer choose it on a new observation, and it no longer appears when you attach items to a school. Use this when a course or period ends, so last year’s observations keep their data.
- Remove (Yes, Remove on content areas and grade levels) deletes the item from the district and detaches it from every school. It appears only when no observation uses the item. If observations use it, the window says how many and that those observations must be deleted first.
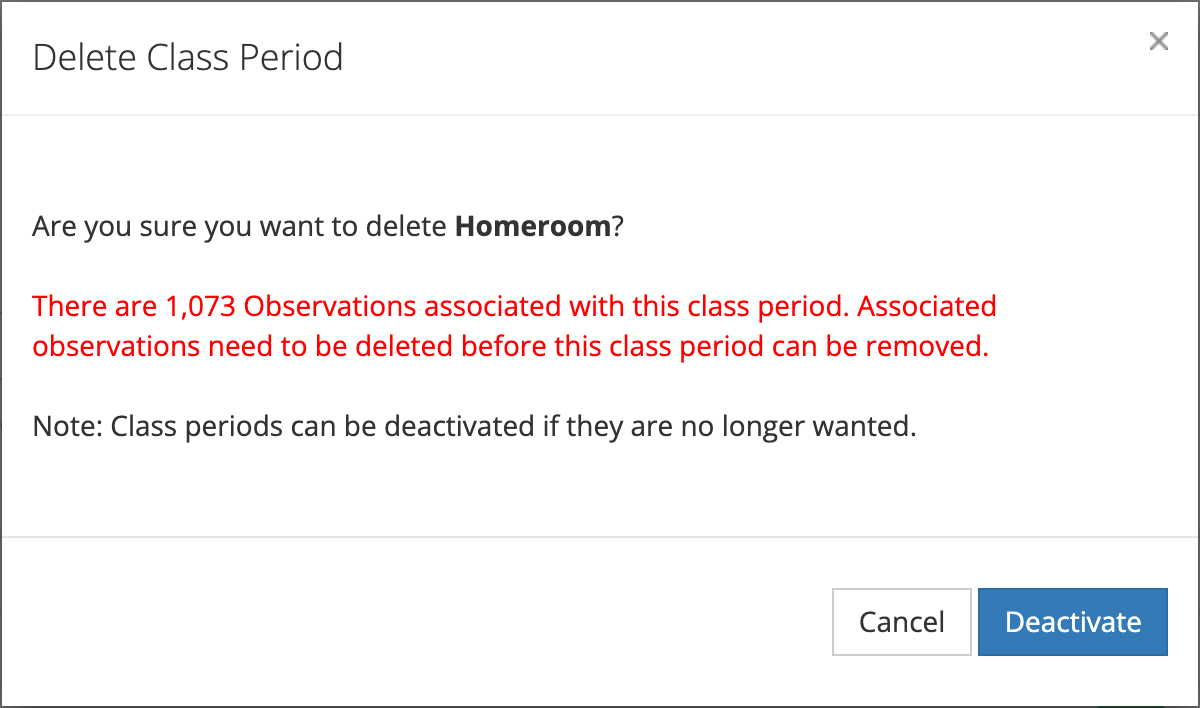
To make an inactive item available again, edit it and set Active? back to Yes.
Grade levels and content areas on a user
Section titled “Grade levels and content areas on a user”A user’s page also has Content Areas and Grade Levels panels, where you can record what a teacher teaches. These do not change what the observation form offers. The observation form always lists what the school has attached.